
About: Passthrough outputs allow signal distribution to multiple destinations by redirecting the originally ingested signal. Passthrough outputs do not allow for format changes and provide the best option for low latency distribution.
Not sure how to start?
→ Learn where to create a new output or edit an existing output.
Configure a passthrough output
The configuration of passthrough outputs consists of five sections:
1. General
Click on "General" if not already selected.
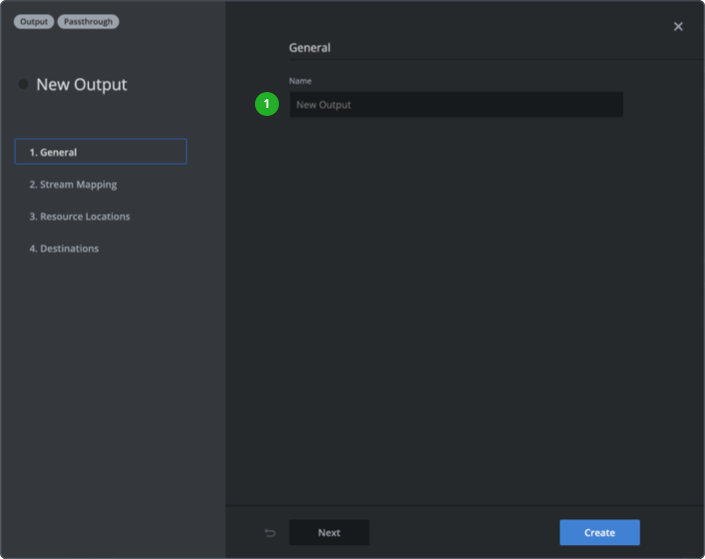
- Type in a name that will be used as a unique identifier across your Live Video Cloud team.
2. Stream mapping
Configuring stream mapping is optional.
Stream mapping allows removing or reassigning packetized elementary streams of a routed MUX to specific PIDs.
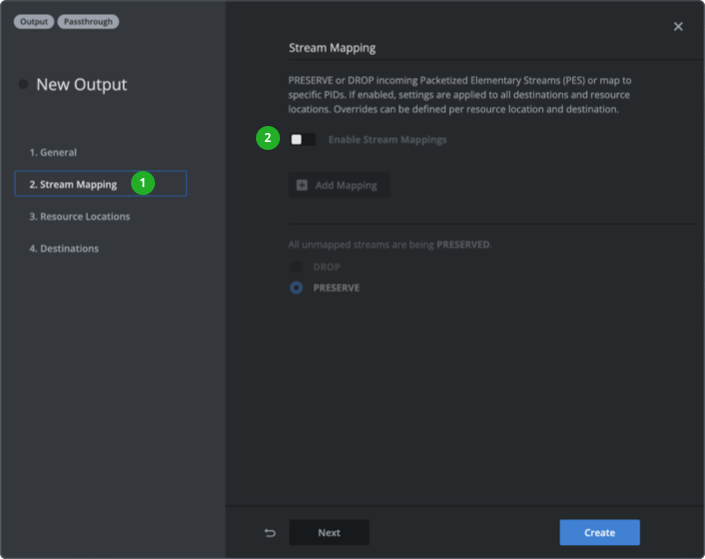
- Click on "Stream Mapping".
- Enable stream mapping.
Follow the instructions in the stream mapping guide:
→ Learn more about how to configure stream mappings.
3. Resource locations
Resource locations are pull-destinations that come with any output by default. They are mostly pre-configured and ready to use. Decide which resource locations should be enabled/disabled when starting your output. Resource locations can be enabled/disabled while an output is running.
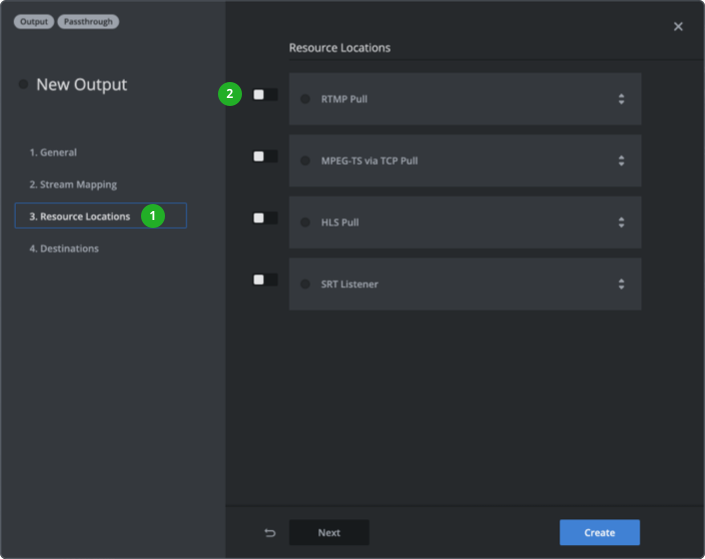
- Click on "Resource Locations".
- Enable/disable resource locations.
Check the following guides to learn how to configure specific resource locations:
4. Destinations
Create up to 10 destinations per output and decide which should be enabled/disabled when starting the output. Destinations can be enabled/disabled while an output is running.
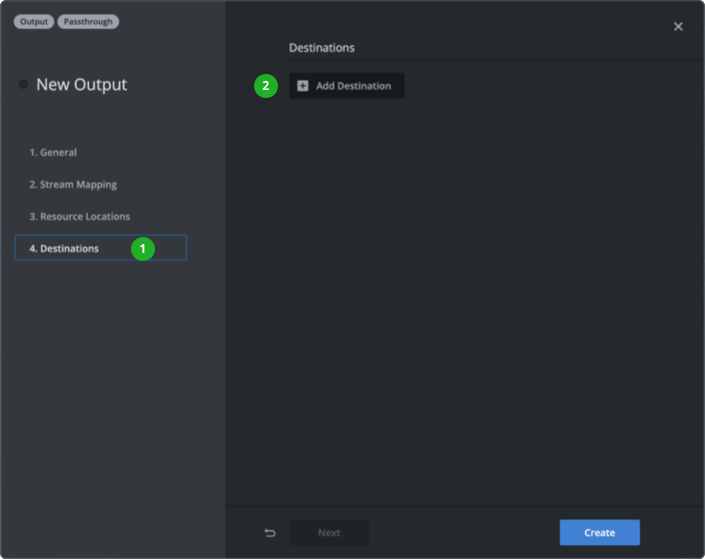
- Click on "Destinations".
- Click "Add Destination" and select the destination type want to use.
Check the following guides to learn more about the configuration of specific destinations:
Click the “Create” or ”Save Changes” button in the bottom right corner.
How to continue?