
This article describes how to connect your Azure Storage Account as an external Library in Schedule.
It is assumed that you have permissions to create Ressource Groups and Storage accounts.
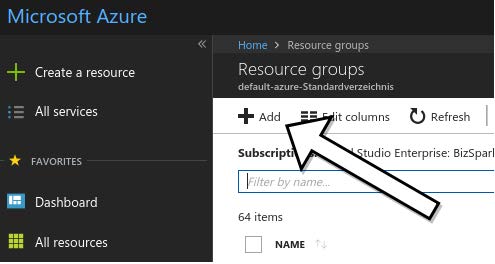
1. Create a new Resource group, if you do not have currently one for your LTN Schedule installation.
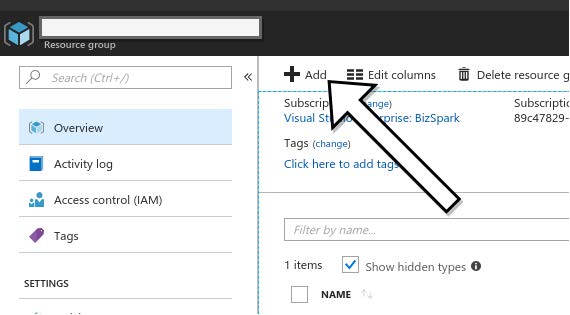
2. Create a new Resource.
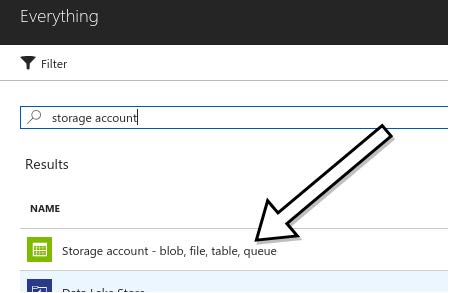
3. Choose "Storage Account".
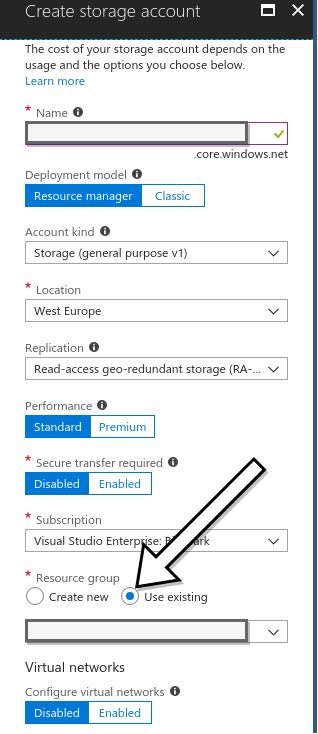
4. In the creation form choose "Use existing" and enter your Resource Group you created in 1.
for more informations about the Options, please visit the Azure Storage page
5. Click on your newly created Storage Account.

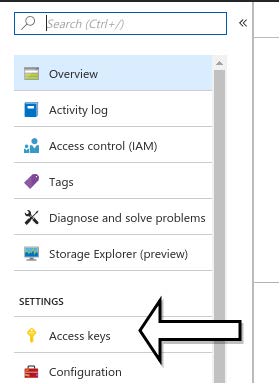
6. Choose Access keys in the menu.
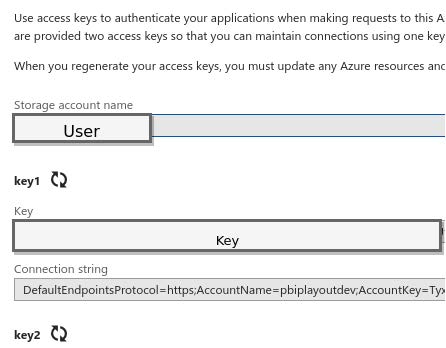
7. Now you see your User and Key. Note them down.
these credentials will be used inside the Schedule
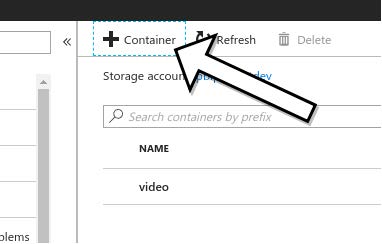
8. Click on "Containers"

9. Create a new Container.
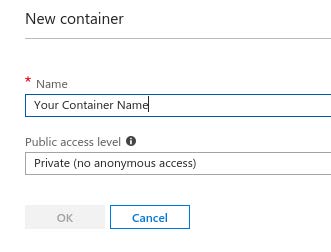
10. Now you have finished the creation.
Insert Azure Storage to Schedule.
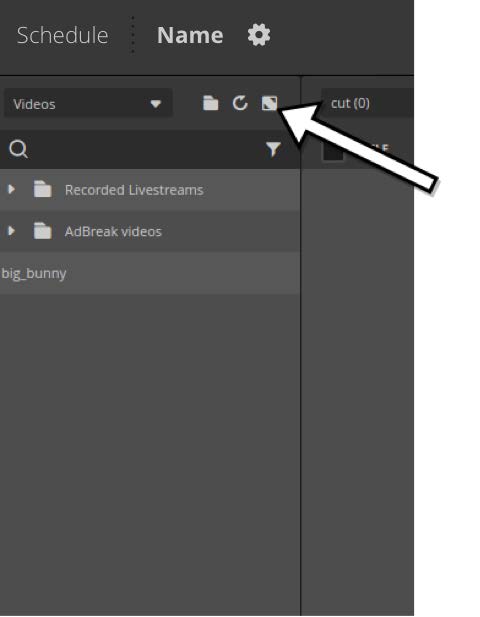
1. Click on the extend Button at your Media Drawer.
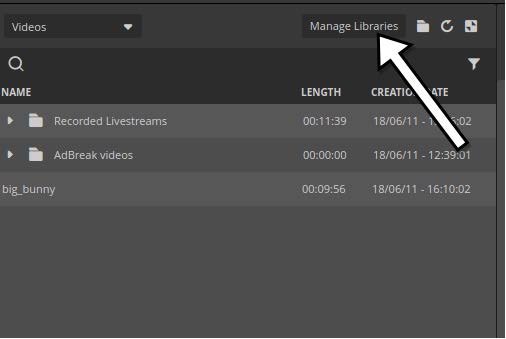
2. Click on Manage Libraries.
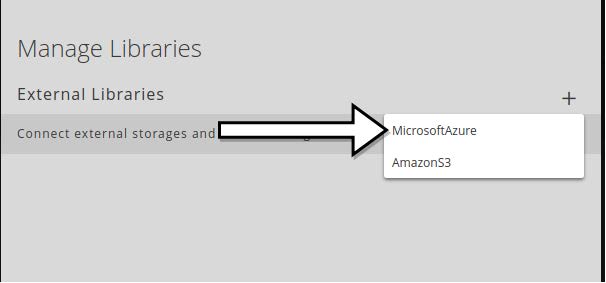
3. Click on "+" and add a New Microsoft Azure Library.
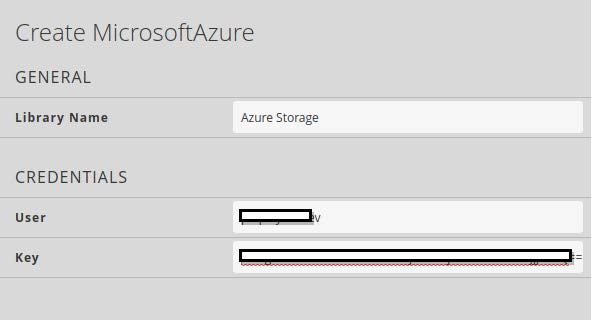
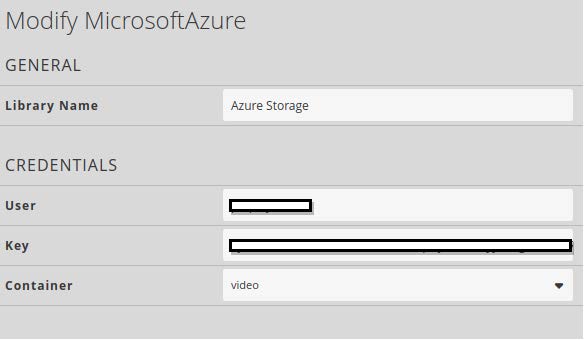
4. Add your storage account credentials and click on Done.
You can find your login data under 6. (How do I create bucket and user for Schedule ?)
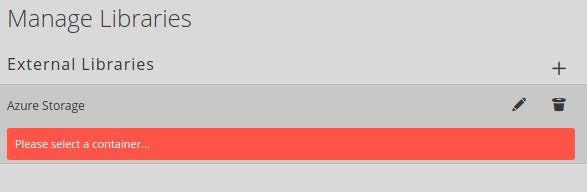
5. After that you will see this: Click on edit and choose your bucket and click on Done.
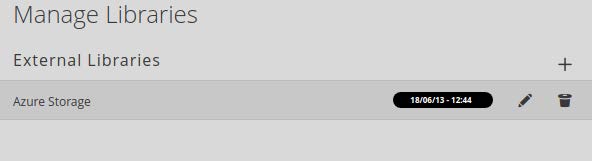
6. Your bucket is added.
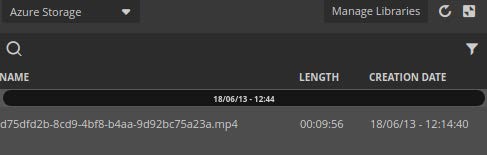
7. Files
New Files will show up inside the Library after a few seconds.